Are you ready for the Honeysuckle crochet bag as promised to match the crochet hat! Usually after working with a specific yarn, I get bored and tired of the color but this one was lots of fun. The self-striping pattern turned this crochet bag into one awesome project. I hope you will have as much fun making it as I did!
Did you catch the Crochet World magazine in the bag? Check out the date! You can read how I acquired the magazine if you are curious. I love all these old magazines. How many of you have some stashed away? Did you also notice the hook? It’s in testing for someone and hopefully will have a surprise in the near future for you…..
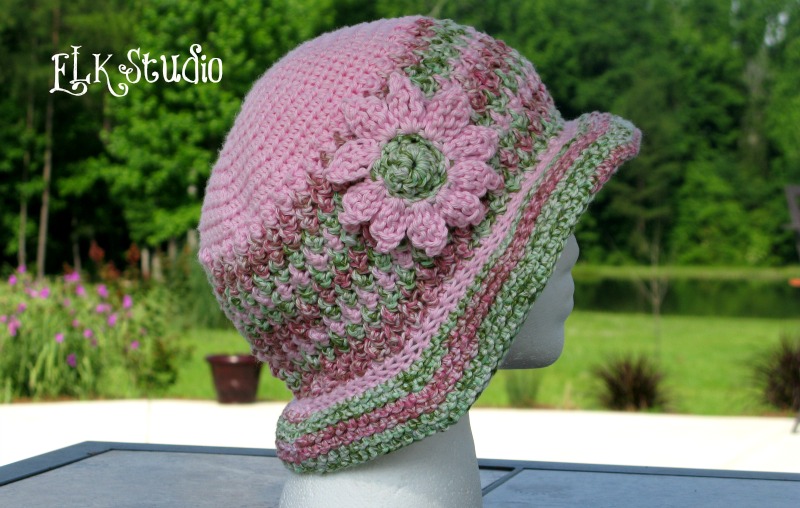
Look at both the hat and bag together! I LOVE IT!

Pattern Instructions for Honeysuckle Bag
Supplies:
1. I Love this Cotton by Hobby Lobby. 225-275 yds. I purchased 2 skeins Too Pink, 1 skein Pink
2. Crochet Hook Size – H/5.00
3. Tapestry needle for weaving in the ends.
Gauge: 17 stitches and 17 Rows = approximately 4 inches. (My measurements were taken from the row stitches.
Abbreviations:
BLO – back loop only
ch – chain
sc – single crochet sl st – slip st
tr – treble crochet
YO – yarn over
Finished Size: 13 ½” in length and 11” in height (not including the handles)
NOTES AND TIPS: I want you to be successful with understanding the bottom part of the bag especially if you decided to make your bag bigger or smaller. Let me explain how I came up with the amount of stitches on the edge. I had 17 rows and the height of the project equaled almost 4″ (I still technically had one more row to do but this would be done in round 1). I then measured 4″ to get my stitch count within the pattern which equaled 17 stitches. I needed to end my project on an even number, so I decided to crochet 16 stitches across, which meant there needed to be 8 stitches in 2″ for it to be worked evenly across right? In other words, if you did 20 rows and the height was 5″, you would want to see how many stitches it took within the project to get 5″ and that would be the number you would crochet evenly across. Let me show in you a couple of photos.
[one-half-first] [/one-half-first]
 [one-half][/one-half]
I want to give credit to Kim Guzman for helping me learn how to do this technique. I had a question on Dear ELK Studio and she was kind enough to answer it for me. You can read her full explanation HERE.
With main color, Ch 36 Row 1: sc in 2nd ch from hook and each sc across, ch 1, turn (35 st) Row 2: sc in first sc and each sc across, ch 1, turn. (35 st) Row 2-17: Repeat row 2 (Do Not Finish Off)
Beginning the Sides of the Crochet Bag
Round 1: After repeating row 17, do not ch 1 and turn, 2 sc in the corner, 12 sc evenly down the edge, 2 sc in the corner, sc in each bottom loop down the row (35 st), 2 sc in the corner, 12 sc evenly down the edge, 2 sc in the corner (102 st including row 17)

Use a stitch marker because you will be working in the round on rounds 1-3. I actually placed a stitch marker before and after the 2 corner stitches, so I could keep my stitch count on round 1.
Round 2: sc in BLO across to edge (35 st), sc2tog corner, sc in BLO next 12 st, sc2tog corner, sc in BLO across to edge (35 st) sc2tog corner, sc in BLO next 12 st, sc2tog corner. (98 st)
Round 3: sc in first sc each st around (98 st) Fasten off.
Change to Alternative Color
Round 4: ch 1 and sc in same st, *tr in next st, sc in next st* repeat from * to *, join by sl st to first sc. (98 st) Round 5: ch 4 (counts as first tr here and throughout the pattern), *sc in next st, tr in next st*, join by sl st to first to of 4th ch. (98 st) Repeat Round 4 and 5 until you have reached your desired height of the bag. (I had 22 rounds).
Handles:
Change to main color and use stitch marker because you will be working in the round. Round 1: sc in first st and each st around (98 st) Round 2: Repeat Round 1 Round 3: sc in next 6 st, ch 50, skip next 23 st, sc in next 26 st, ch 50, skip next 23 st, sc in next 20 st. (98 st) (If you want longer handles ch more than 50, for smaller handles, ch less than 50). Round 4: sc in next 6 st, sc in each ch, sc in next 26 st, sc in each ch, sc in next 20 st. (98 st) Round 5: sc in first st and each st around. (98 st) Round 6: Repeat round 5
Change to Alternative Color:
Round 7: Repeat round 5 Optional using alternative color inside the handles: Join with alternative color, sc in first st and around, sc in corner, sc in bottom loop of sc and in each st around, sc in corner, join by sl st in first sc. Fasten off and weave in all the ends. I hope you will enjoy the bag! I’d love the see your finished project too. Show it off on my ELK Studio Facebook page!
If you would like to line your bag, Pattern Paradise has a great tutorial!
Disclosure: As with all of my patterns, you can sell your projects. I only ask that if you share on any social media sites/internet, please link back to my website and not distribute my patterns in part or full via internet or hard copy without express written consent.
Have a great day! Be blessed.
Kathy

